
Groups
This article is here to help you understand how "groups" work on the platform, how to create them, and what you can use them for.
What is a group:
You can create a group to organize influencers. This can be used to keep track of creators in a specific category, such as creators from a particular region, top influencers, influencers skilled in user-generated content (UGC), influencers adept at product photography, or any other criteria you want to group them by.
So, you can use groups to categorize influencers according to their fit, and also when you create a campaign, you can make the campaign accessible ONLY to a specific group. This way, only the chosen group can sign up for the campaign.
For example, after completing a campaign, it's a good idea to evaluate which influencers performed well and with whom you might want to work individually. Thus, you can create a special campaign for these influencers where they might receive better compensation than other influencers.
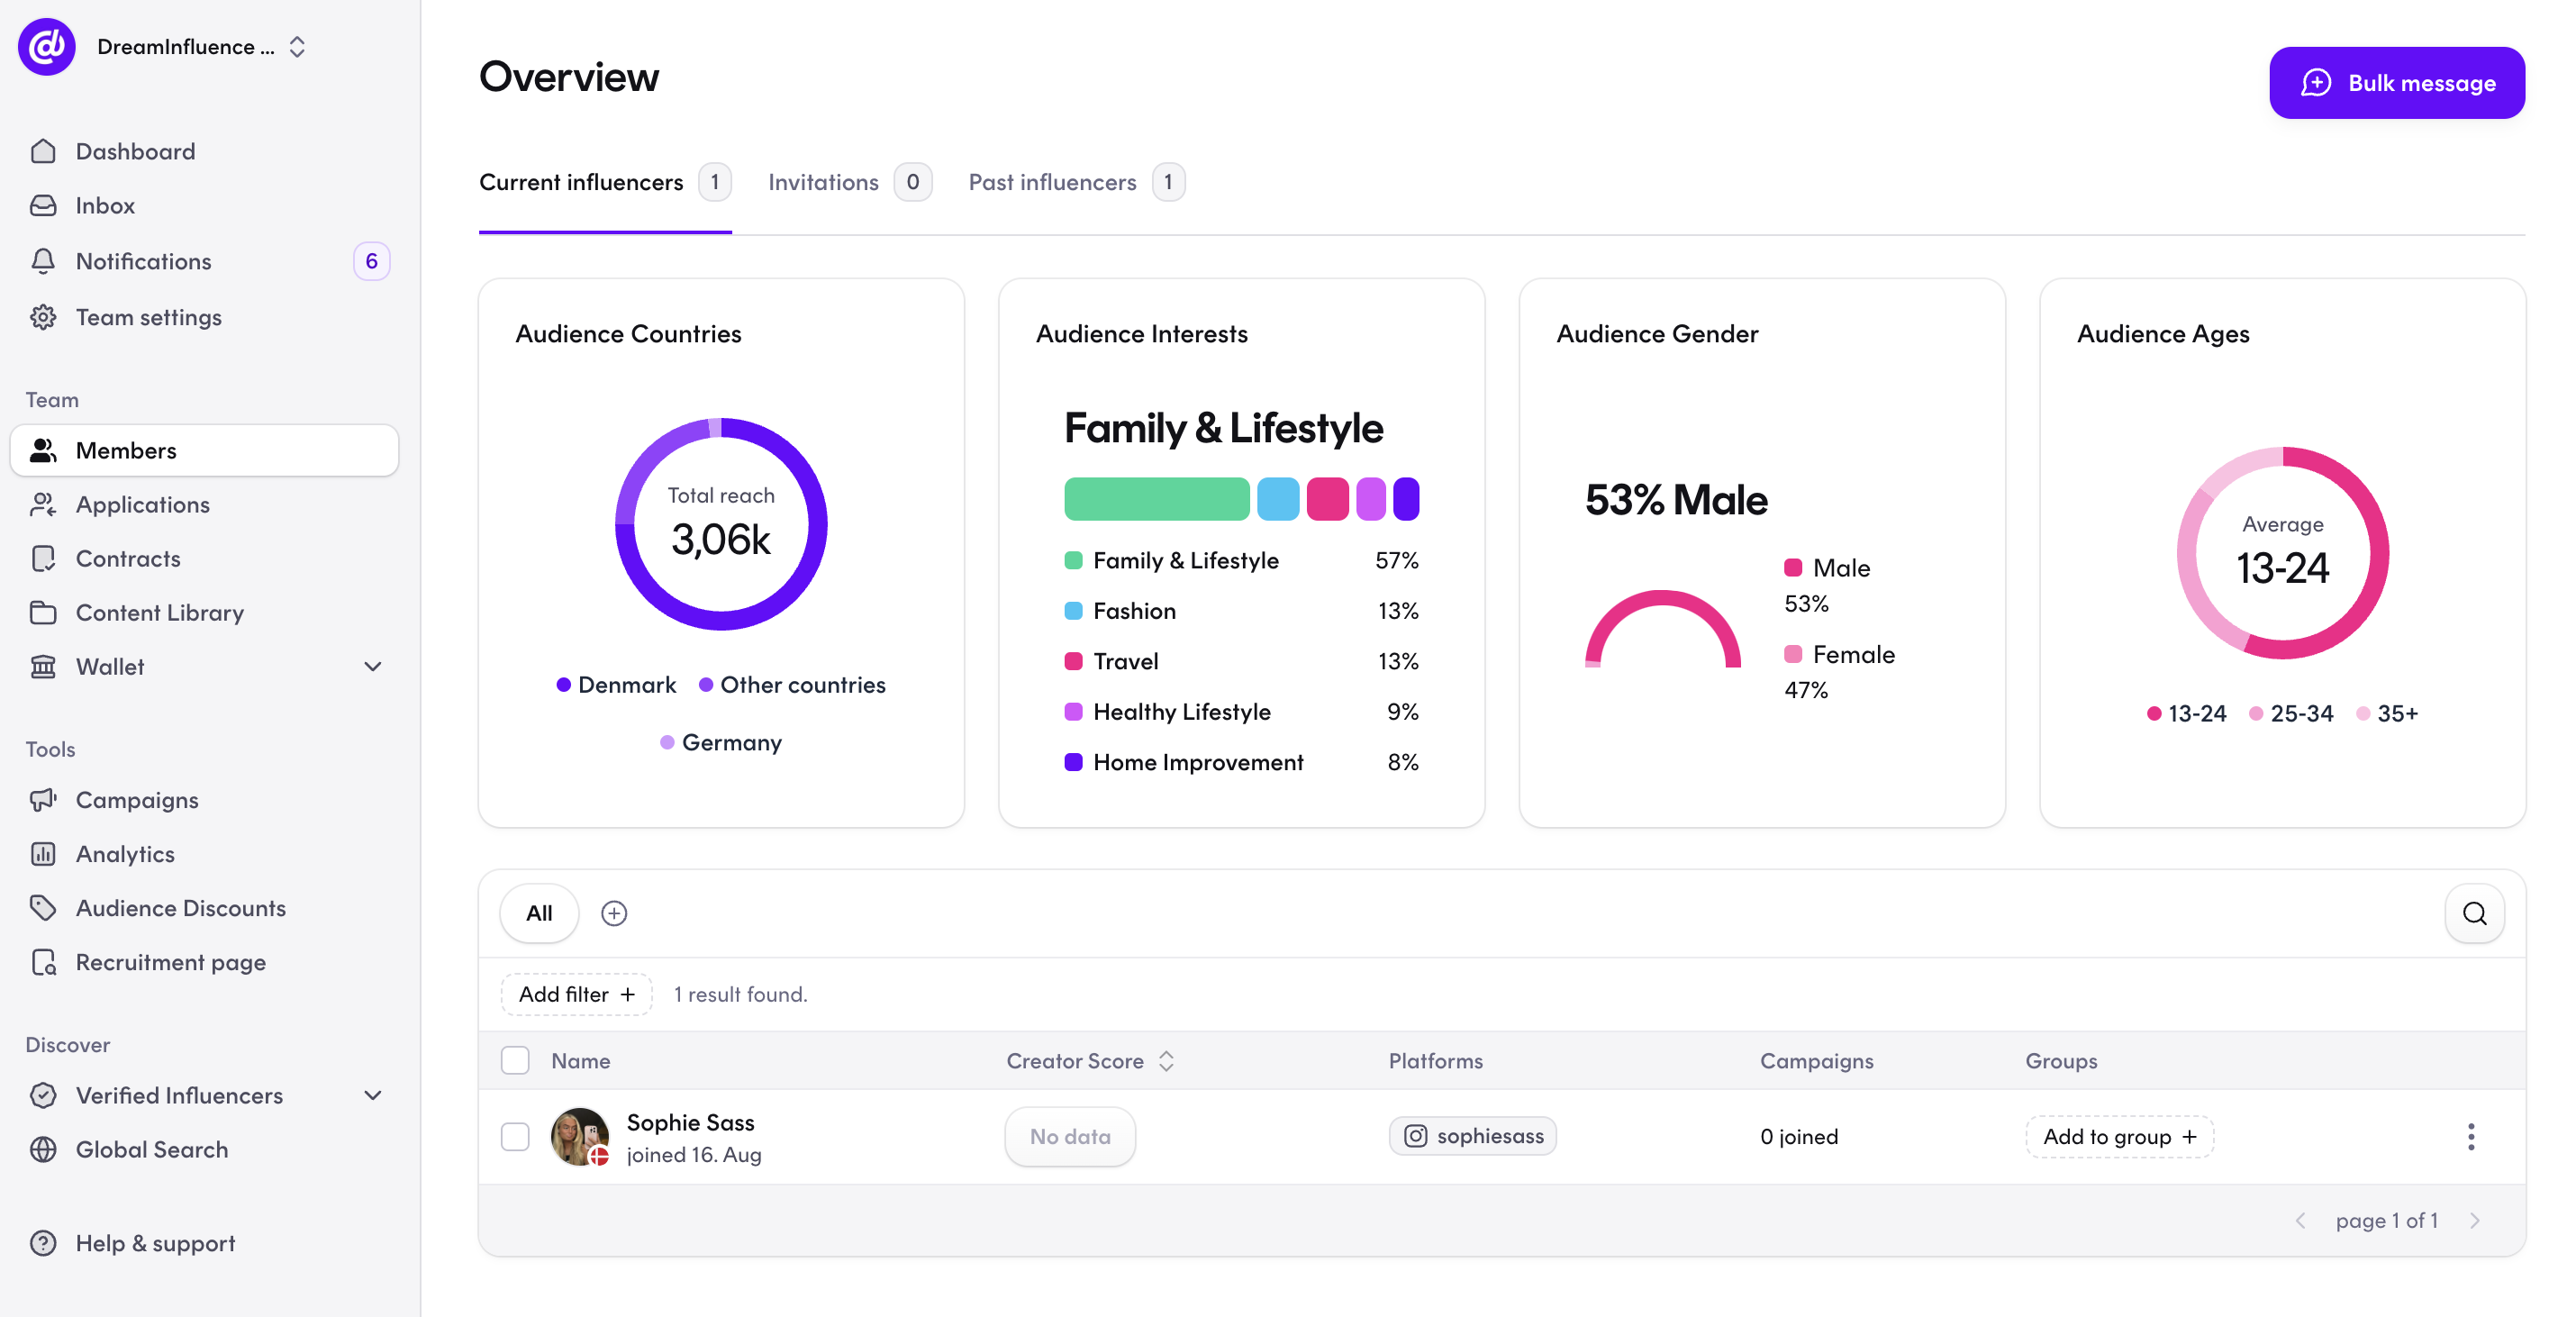
1. How to create a group:
Press "Members" on the dashboard
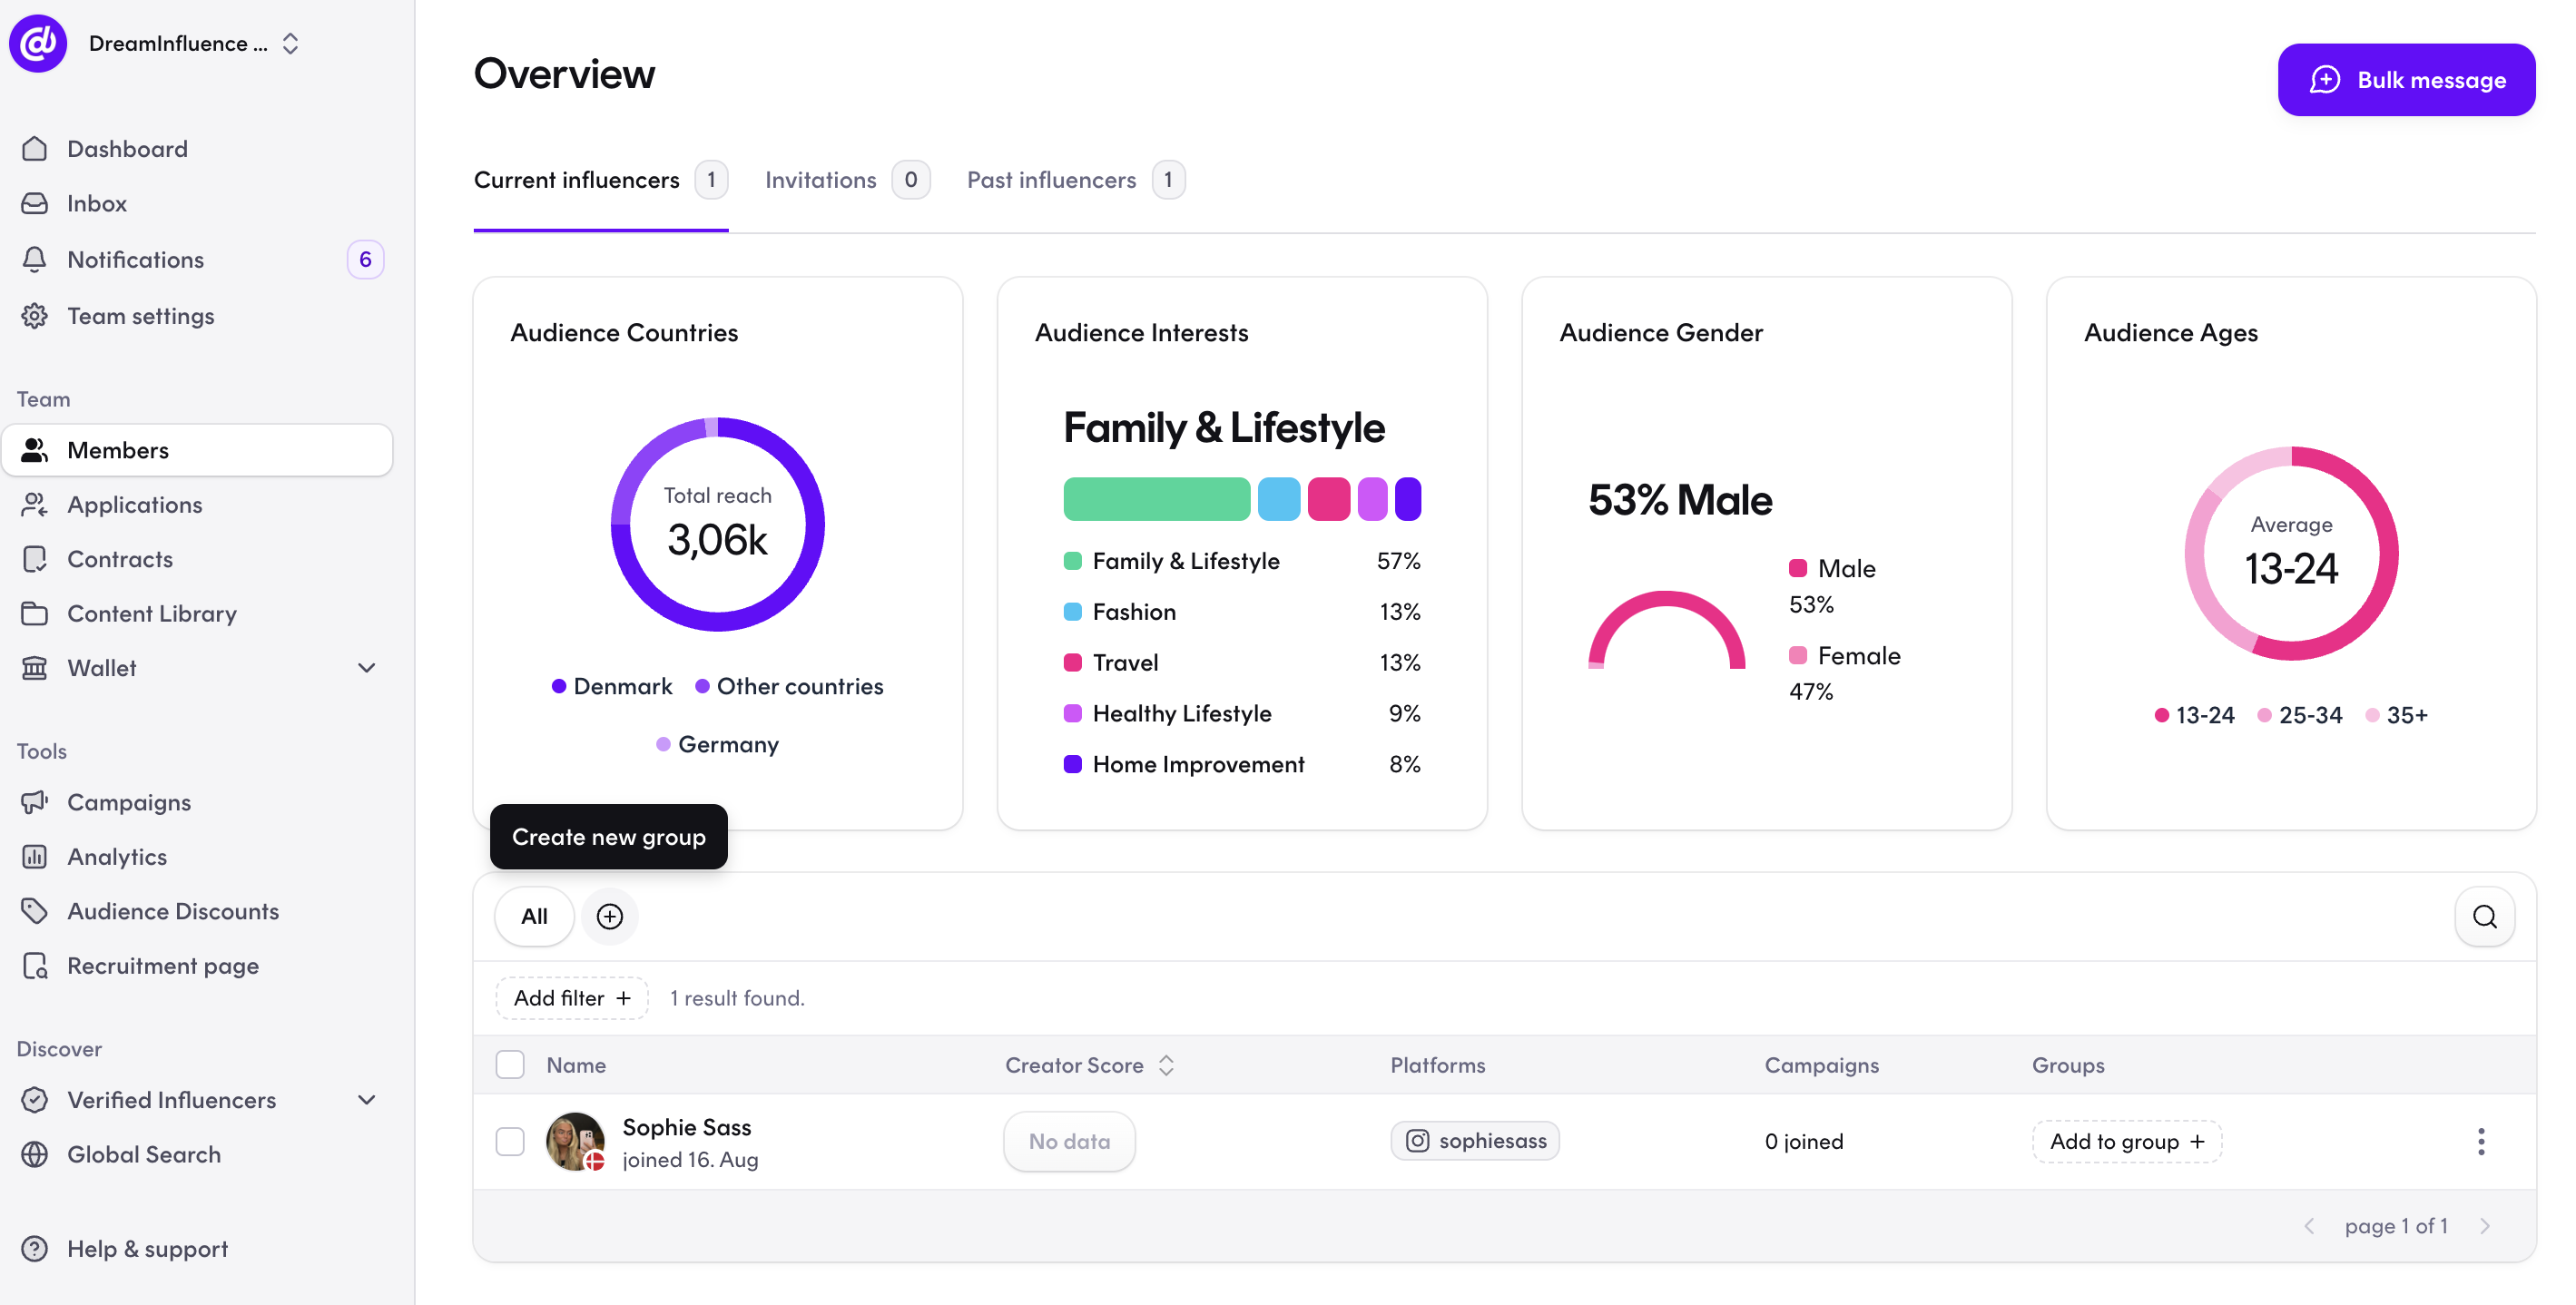
2. Press the small "+" besides "all"
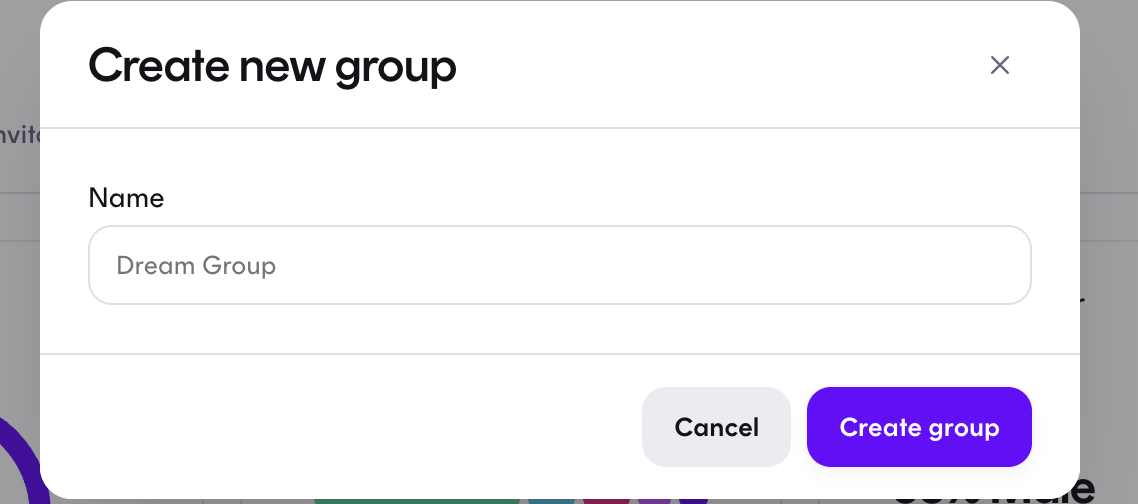
3. Create the name of your new group and press "create group":
You can name the group whatever you like; influencers CANNOT see the name of the group or whether they have been added to a group. So, this is an internal tool.
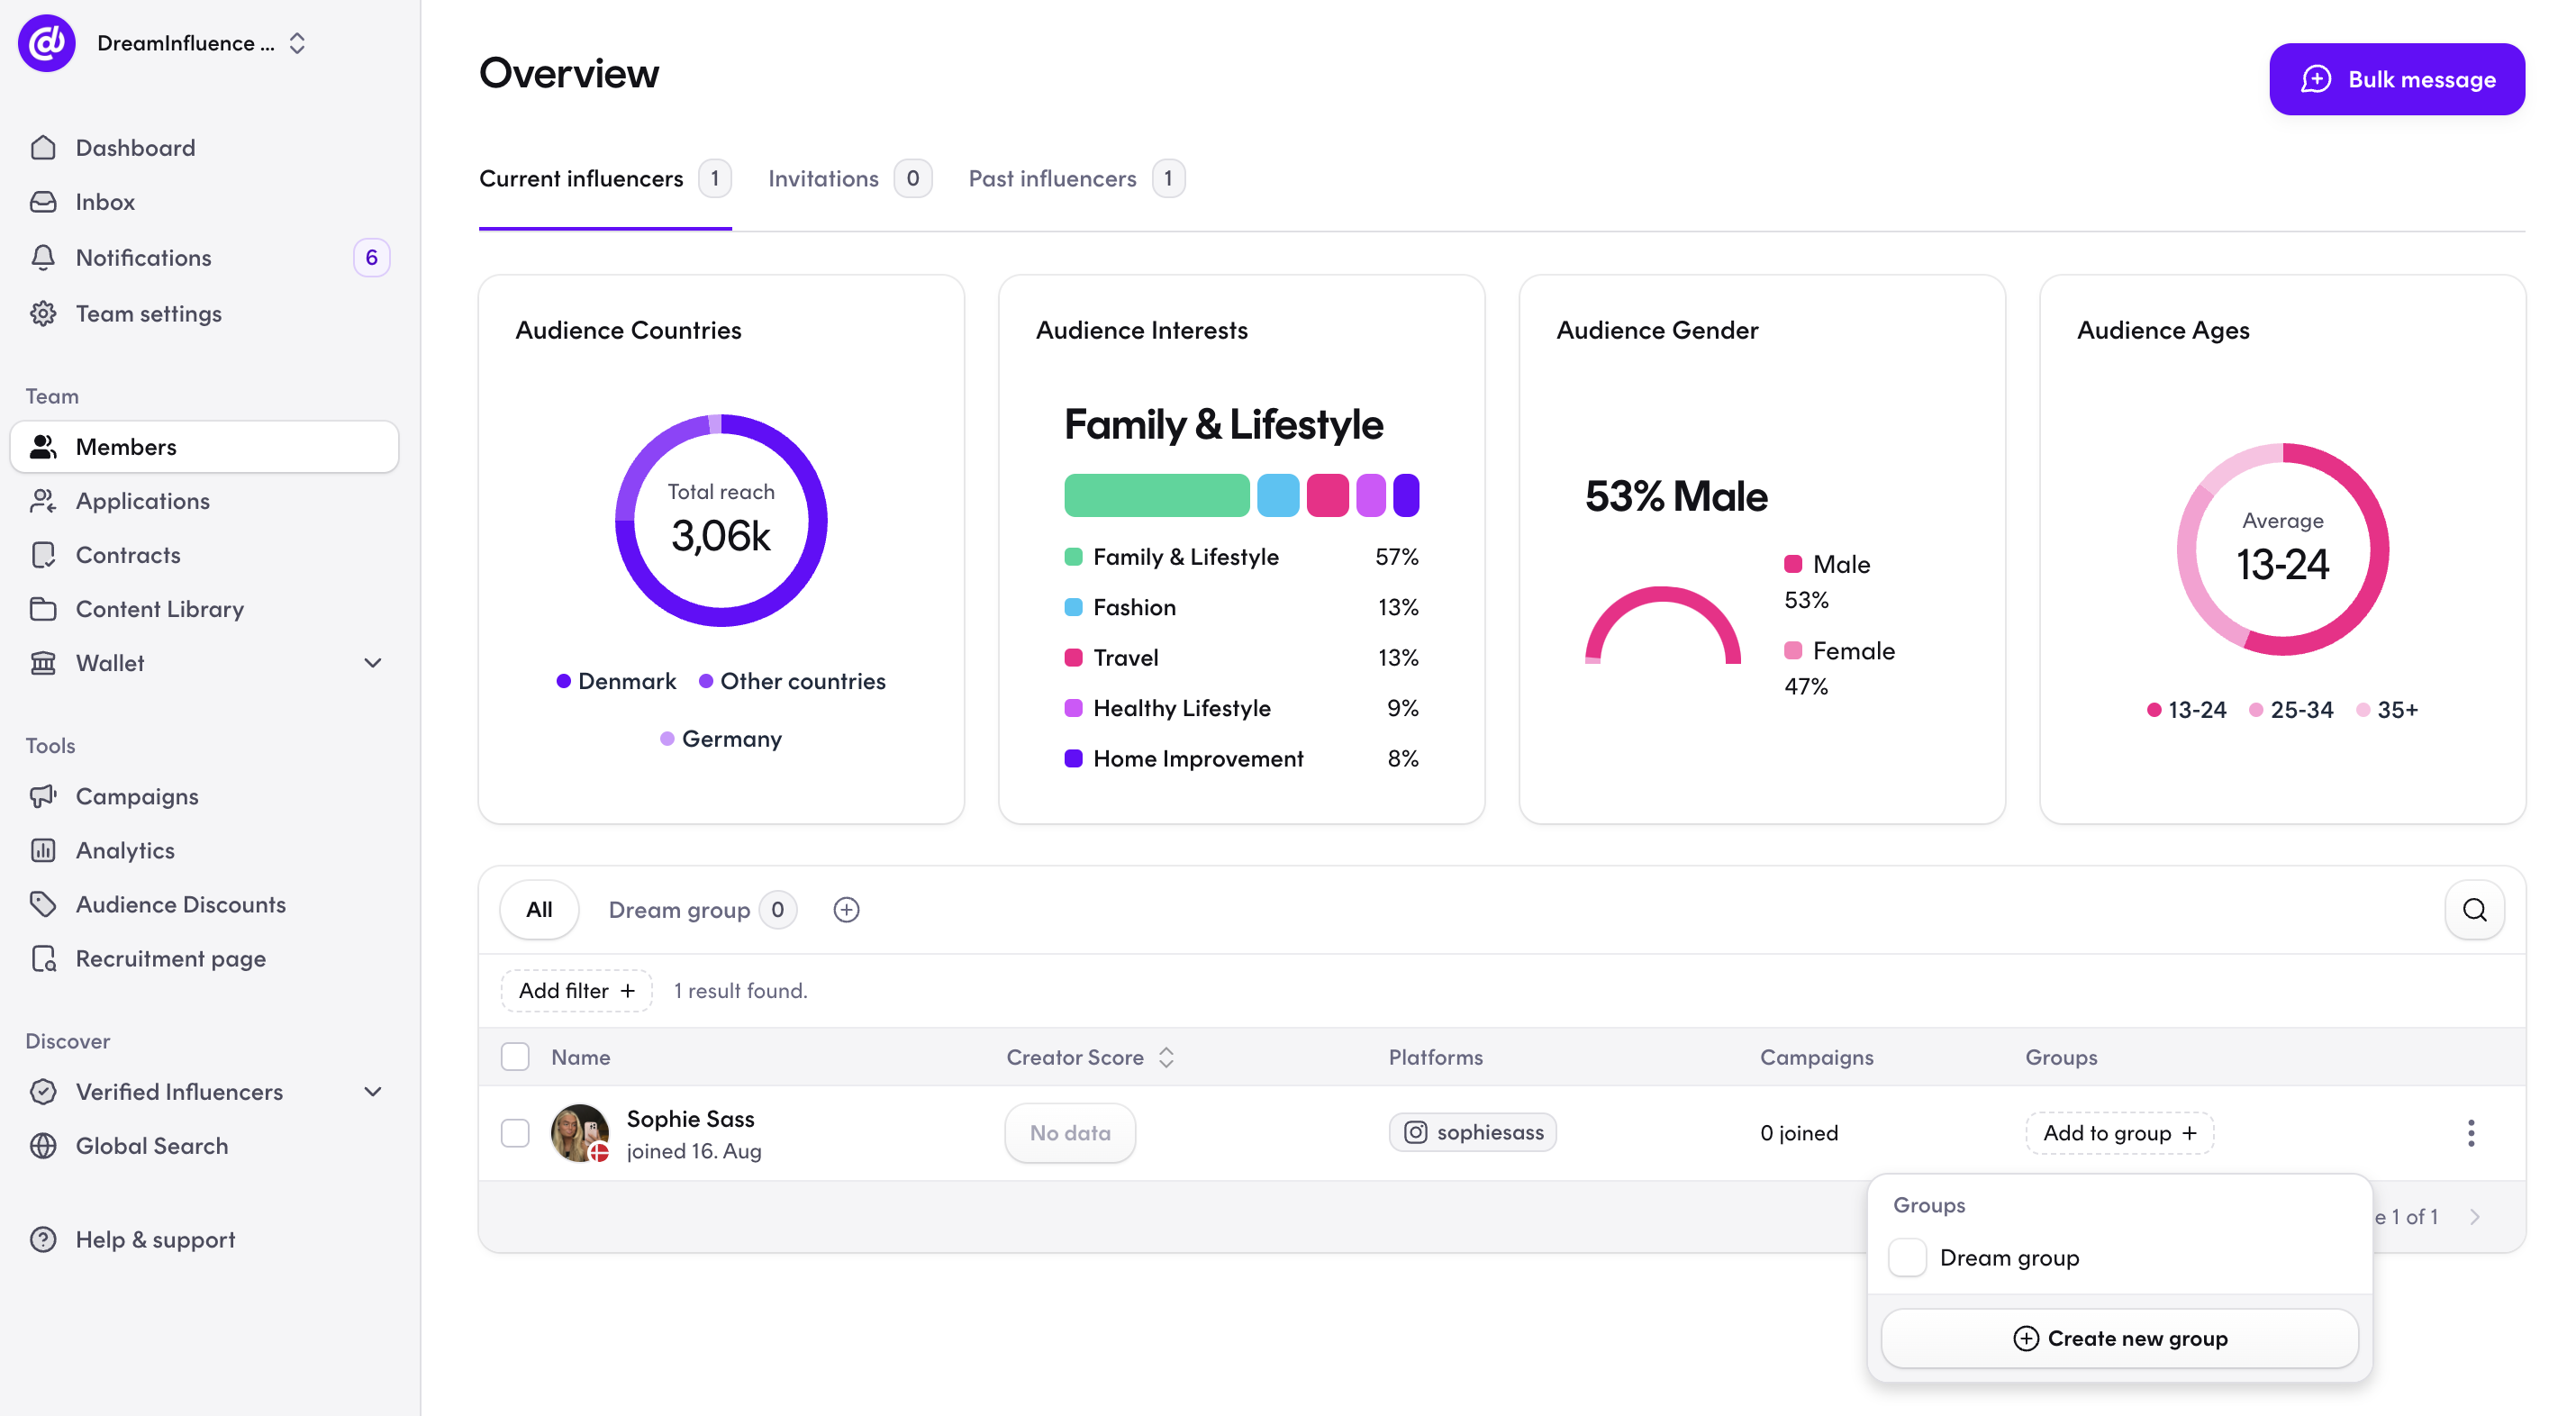
Once you have created a group and given it a name, it will be displayed under "all groups."
(You can create as many groups as you wish.)
How do you add a creator to a group?
To add a creator to a group, you need to go to "members".
You will see a list of all the influencers who are part of your team,
By clicking on the "+", you can select the group you want to add the creator to. Once the creator is added to the group, they will be organized accordingly, and as mentioned before, they won't be able to see the group's name or their membership in it.
Create a campaign visible only to a specific group:
If you want to create a campaign that is visible only to a particular group, you create the campaign as you normally would. During the "Campaign Requirements" step, choose "Limit to a group" and select the group for which the campaign should be visible.
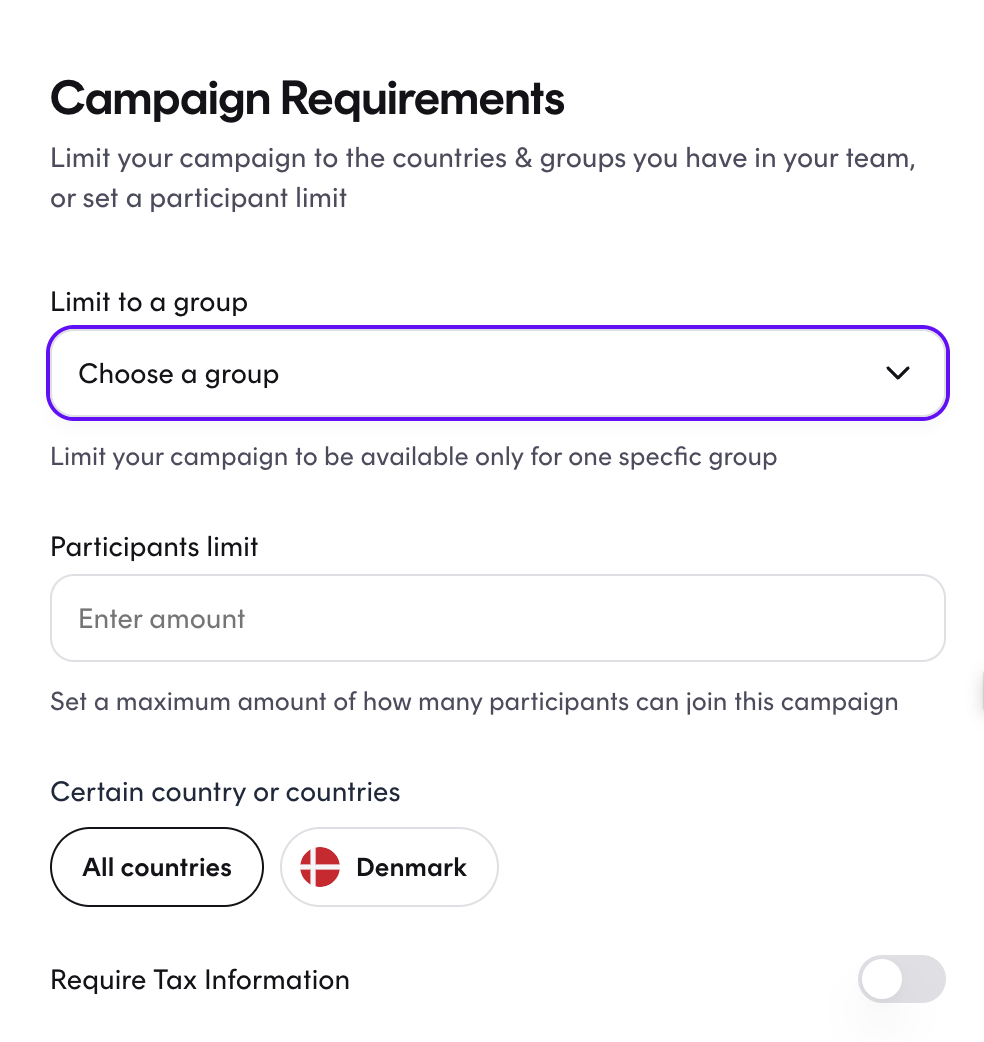
Exactly, once the campaign is set live with the restriction "Limit to a group," only the selected group of creators will be able to see and access the campaign. It will remain invisible and inaccessible to all other creators who are not part of the specified group. This allows you to target and control the visibility of the campaign specifically for the chosen group of influencers.