Create team
How to create your team
First of all you need a log in, so you can log on to the platform and be able to set your team.
1. Team settings
When you see your dashboard, click on the "Team Settings" to set up your new team.
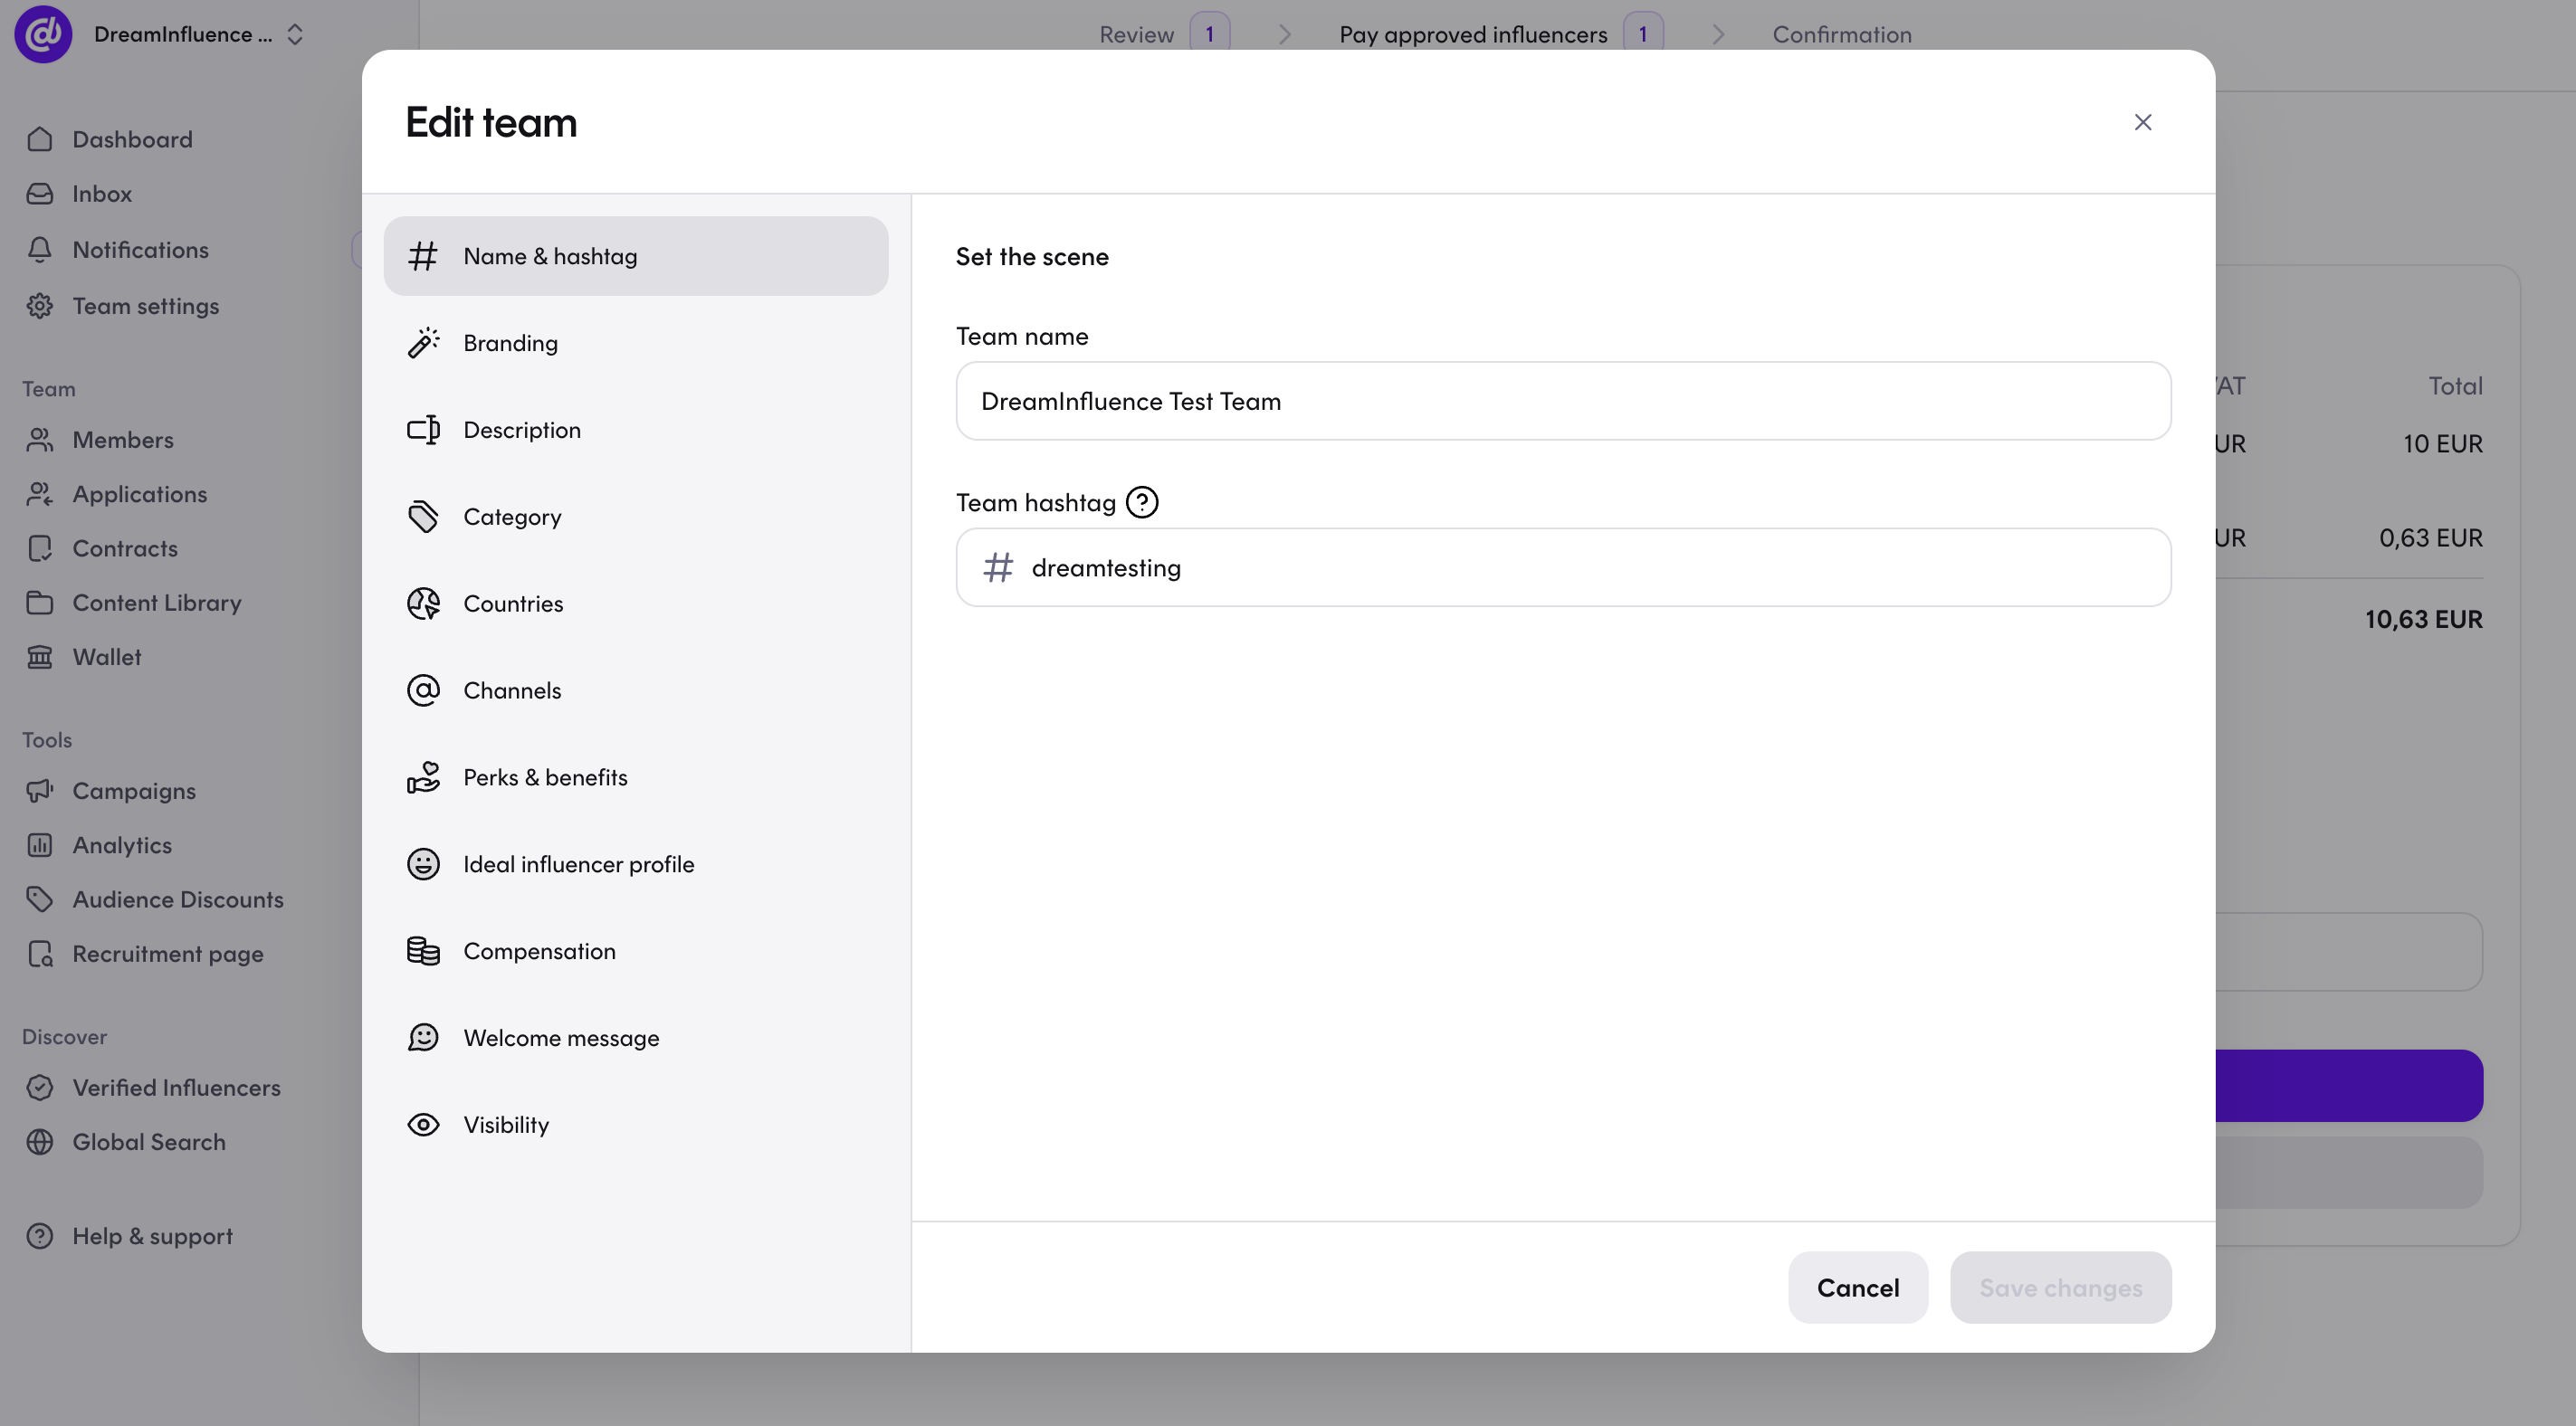
This window can look a little bit different, if you follow the team settings when setting up the team. The steps will be the same, so the guide can still be followed, even though the design looks different.
2. Team name and team hashtag
The first step is to set your Team name and team hashtag.
The team name is often your company’s name - although some companies chooses to call their team ex. “Company name Ambassadors” / “Company name influencers”
The team hashtag will be used in all campaign posts by creators.
We use the hashtag to automatically track all content when the hashtag is used. So, if there are some hashtags that your company commonly uses, then it could be your team hashtag.

3. Branding: Logo - add the face to your brand
Next step is to upload your logo, to identify your team with your brand.
It has to be a JPG or PNG file - It is possible to crop the image once it's inserted.
When inserted, it will look like this:
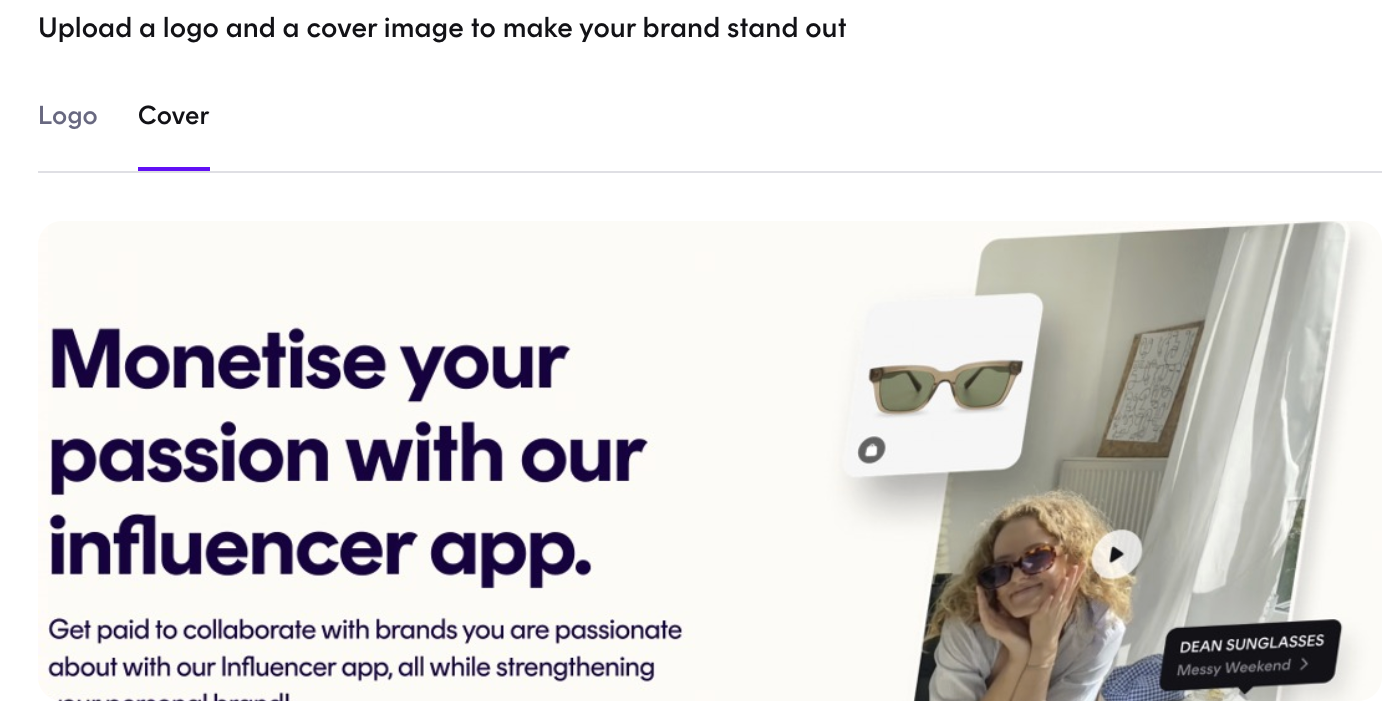
4. Branding: Coverphoto - make it pop!
Next step is to add a cover photo that represents your brand and inspires your team. Try to make it something related to your brand, so influencers that don't know anything about you can get an idea of what your brand works with.
Here we recommend using a horizontal image. Upload a 960 x 448px image for the best result.
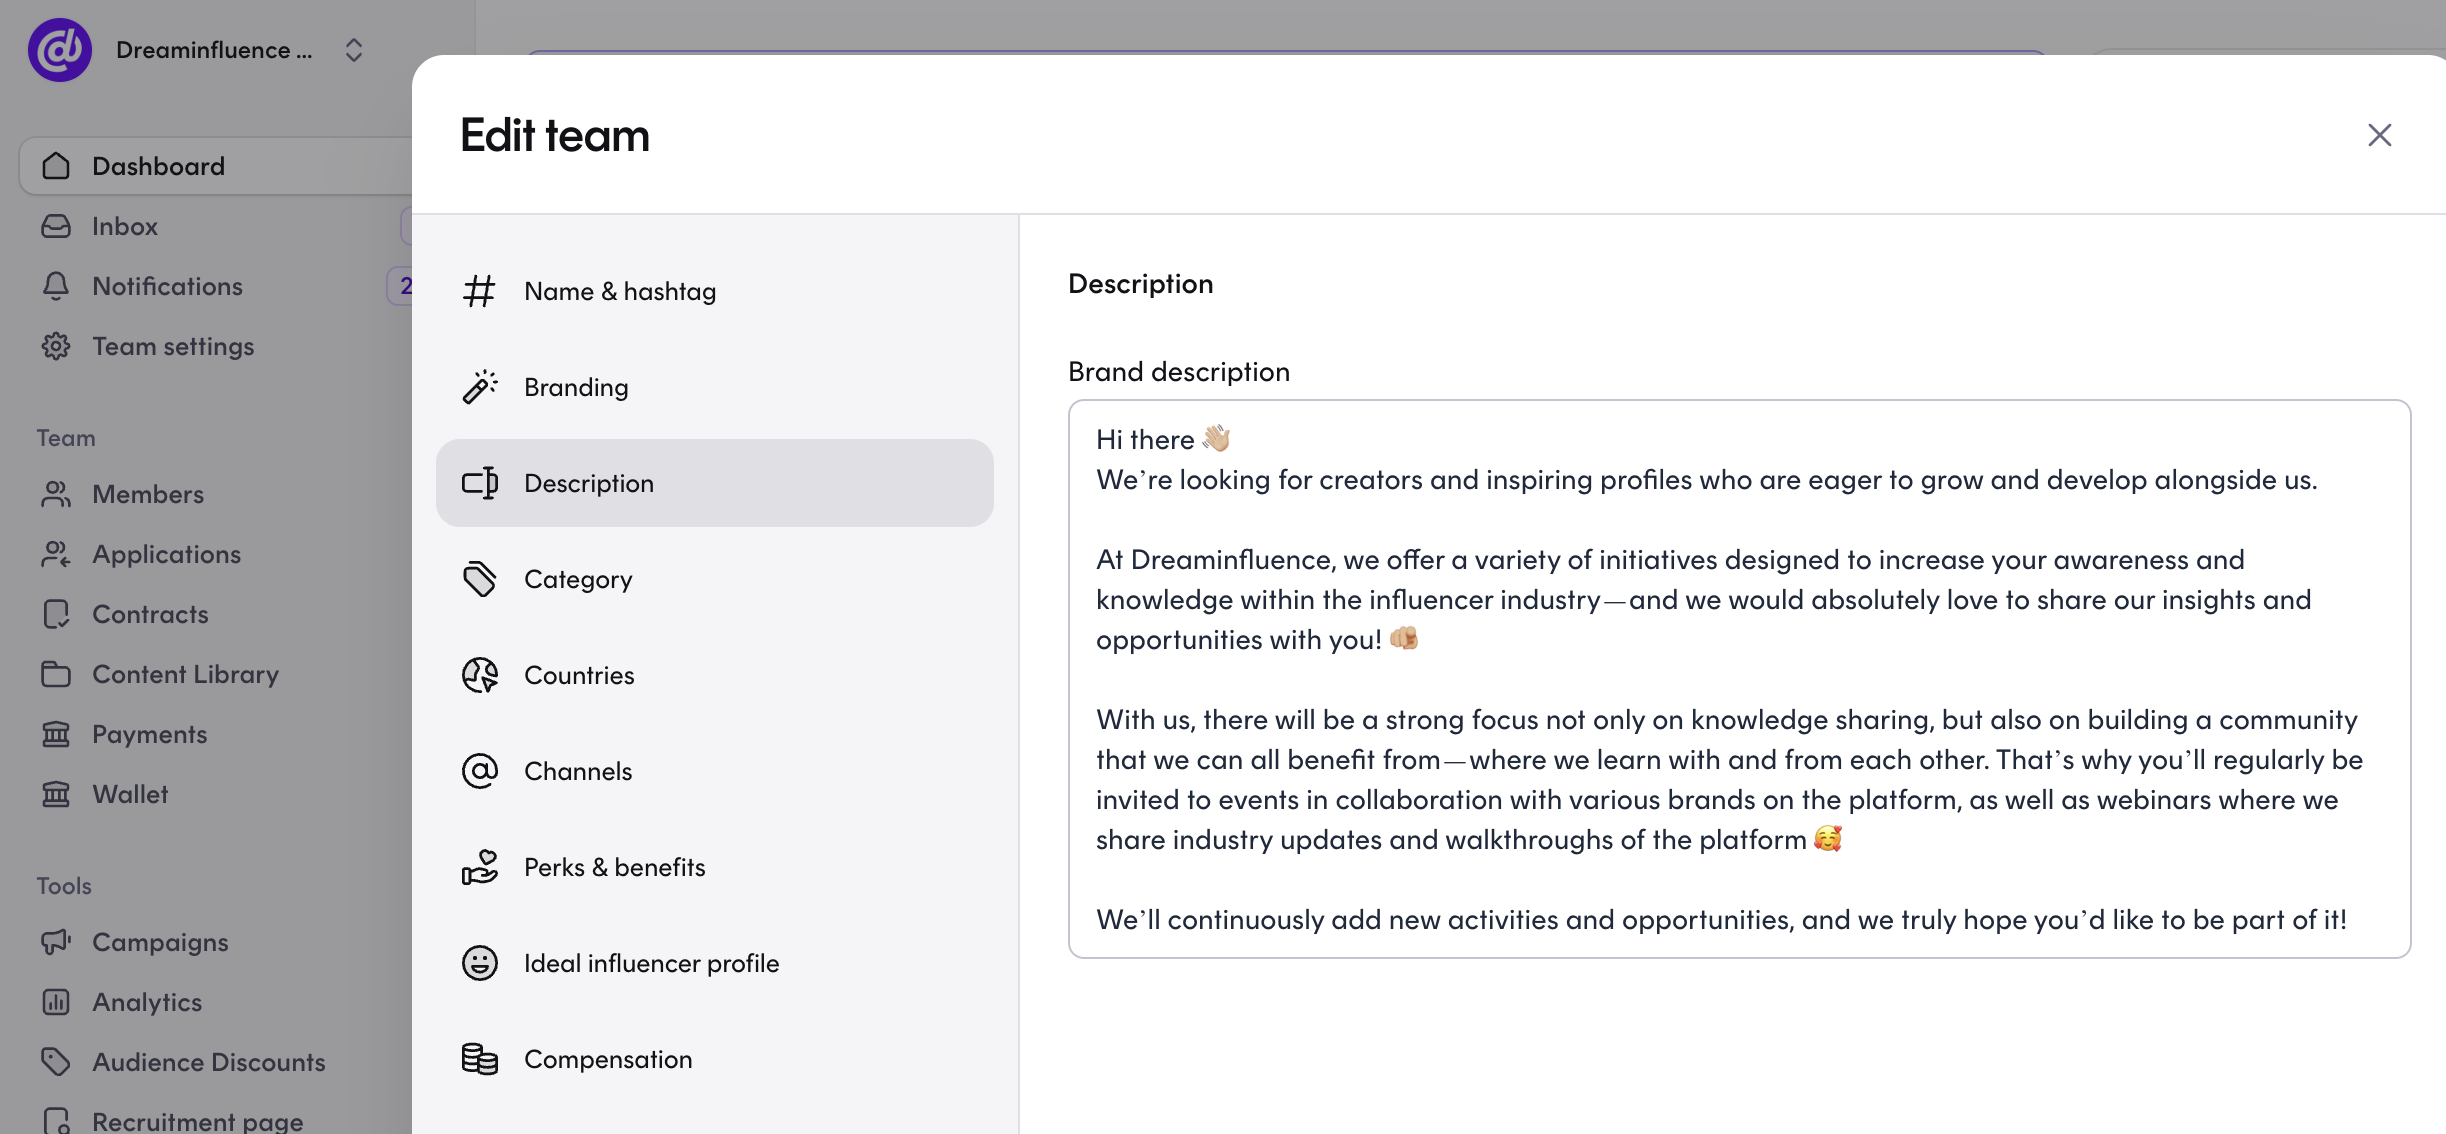
5. Description: Create some hype
Next step is to describe your brand to future team members.
Things to include, could be:
- Short brief about the brand
- a short history-throwback (what have happened to the brand during the last couple of years - anything relevant for the influencers, that might have made the decision about Dreaminfluence?)
- Why should influencers be a part of your team?
- What is your overall thought about the team?
Since influencers often read the description on their phones, there can quickly be a lot of text. To make it more readable you can highlight a few key points, for example, with an emoji to grab their attention. You can also set it up in bullet points. If you look at the screenshot attached, you can see a concrete example of how a description can look like. Don't make it campaign-specific, as you'll create specific campaigns lateron.
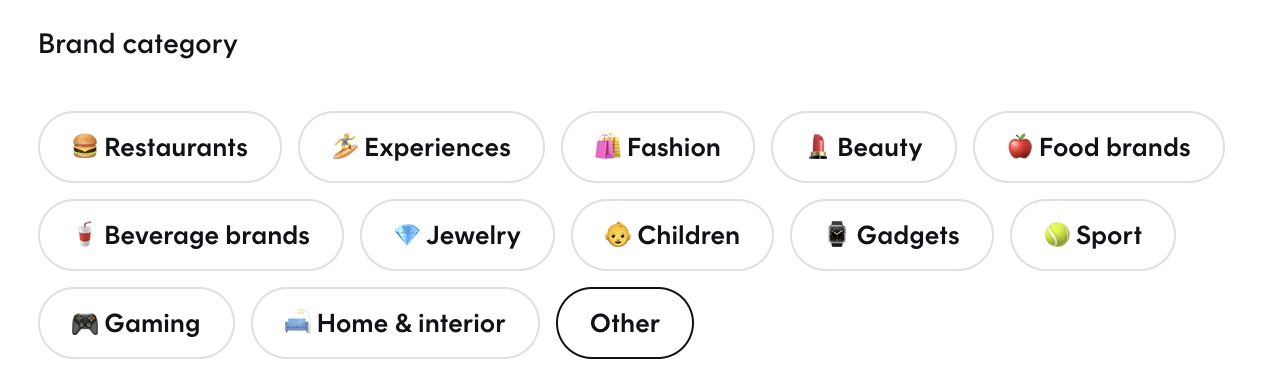
6. Categories
Choose which category your brand fits the most.
It is only possible to choose ONE category and if there are no categories that fit your company, you can choose "others".
The categories are used in such a way that if an influencer wants to search for brands in a specific category, they can choose one of the categories to bring up relevant companies.
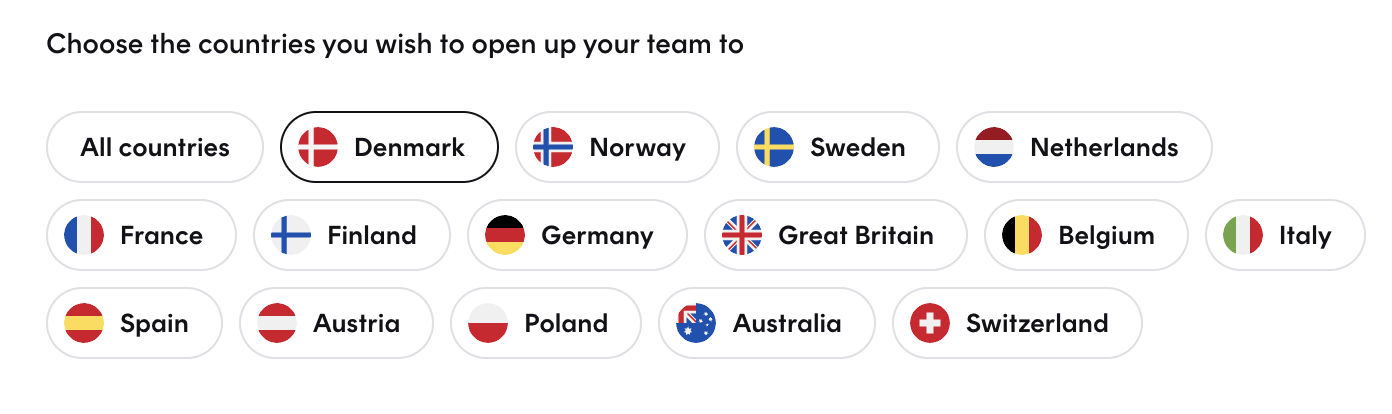
7. Countries
Here, you should choose which country/countries you want your team to operate in. It is possible to choose one, multiple, or all countries - depending on your package.
It is only possible for influencers in the countries that you choose to be able to apply for your team.
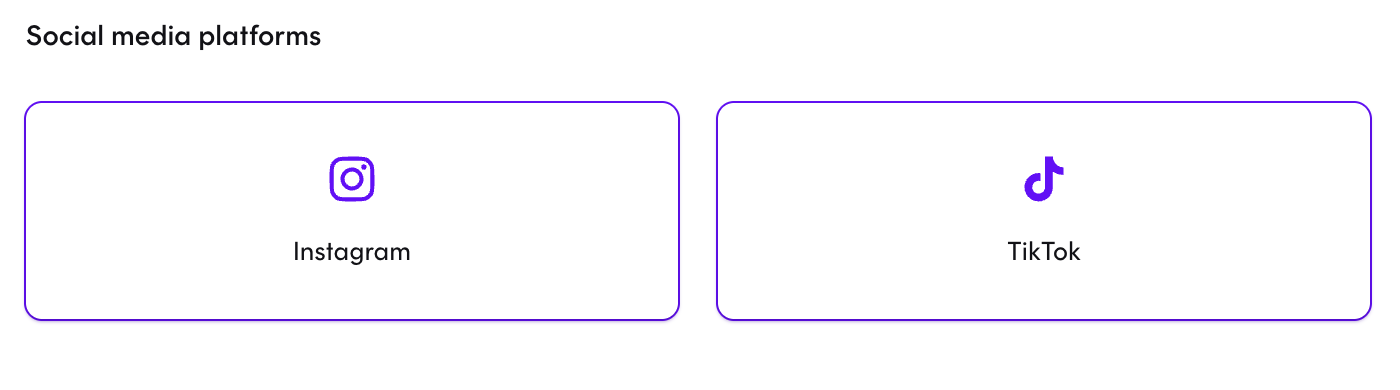
8. Choose your socials
Here, you should choose which channels you want influencers to promote your brand on. It is possible to choose one or both channels.
If your brand doesn't have a TikTok or Instagram profile, you can still run TikTok and Instagram campaigns. Influencers won't be able to tag you, but you will still own the rights to the content created on these channels. You will also be able to download the content and use it on other socials, in newsletters, ads etc. Therefore we always recommend choosing both platforms.
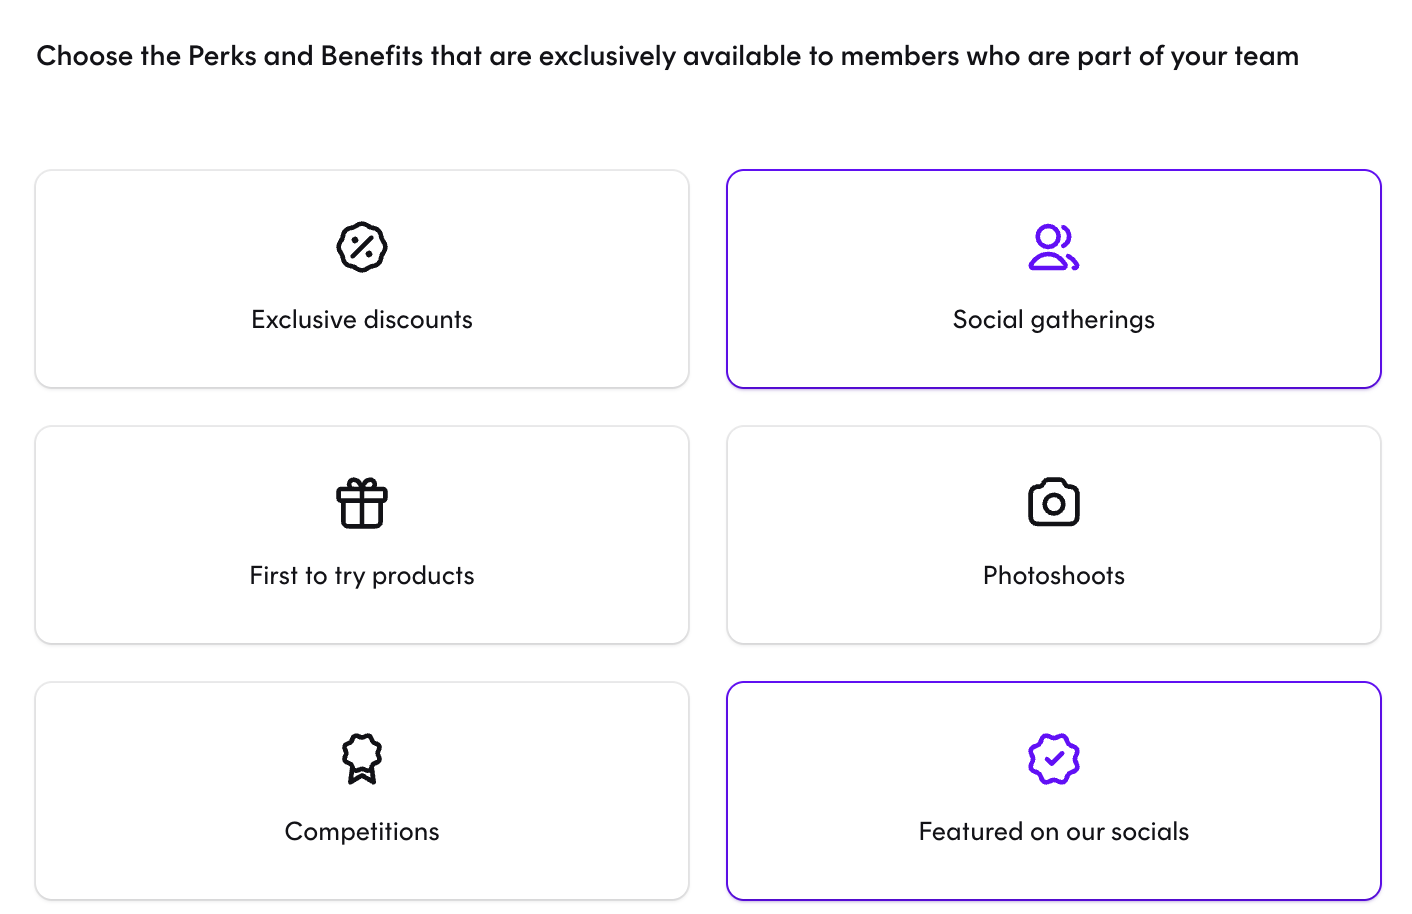
9. What's in it for the members
Select the perks and benefits that match your team and showcase what is exclusive to your members as part of the team. It is possible to choose one, multiple or all. You will not be obligated to do all of them (or any), but it's thoughts around your ambitions with the team.
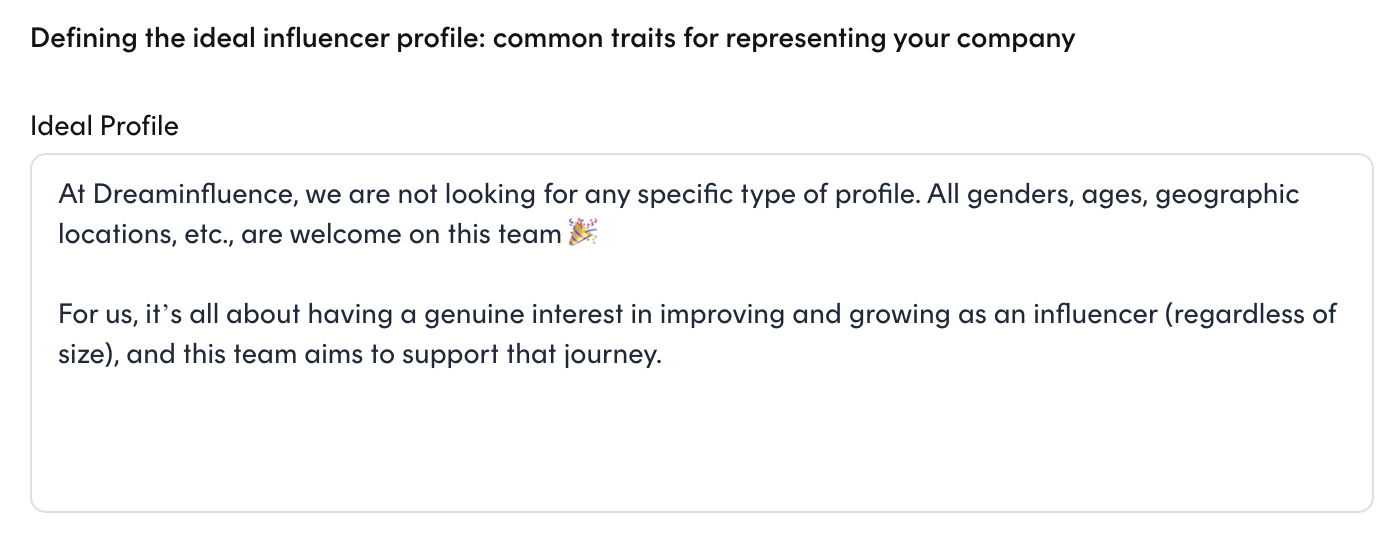
10. Ideal influencer profile
Who do you want to work with? Describe here what influencers representing your company should have in common. You can make the description as narrow or wide as you would like, and this is a way for influencers to figure out if they can identify themselves in the description that you've made. A concrete example could look something like this:
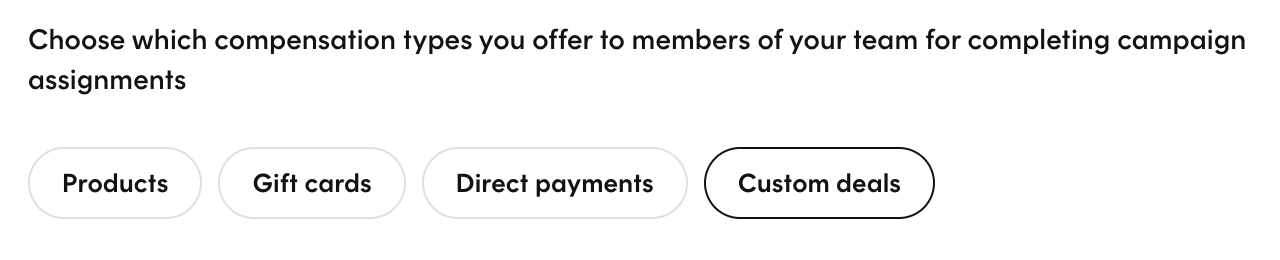
11. Compensation
How do you want to pay your influencers? Here, you should indicate which types of compensation influencers could expect to receive on your team. It is possible to choose one, multiple or all types of compensation. At this level you are not promising the influencers anything and it will still be on the campaign-level where you decide what the influencers will actually get. This means, that if you are open for paying the right influencers direct payment - this should be checked off. Here is a specification of each compensation type:
Products - if you want to send the influencers products
Gifts cards - if you want to give the influencers a giftcard as compensation
Direct payment - if you want to pay your influencers with money
Custom deals - If you want to send the influencers specific products, tickets to events, or products that are not released on your webpage yet. This is also a way to customize your own package deal or similar.
12. Team message
Give your new team members a warm welcome! Set a message that new members of your team automatically receive upon joining your team. This message is usually a way for you to check in with your new members and from the start set the energy and expectations. A concrete example can look something similar to this:
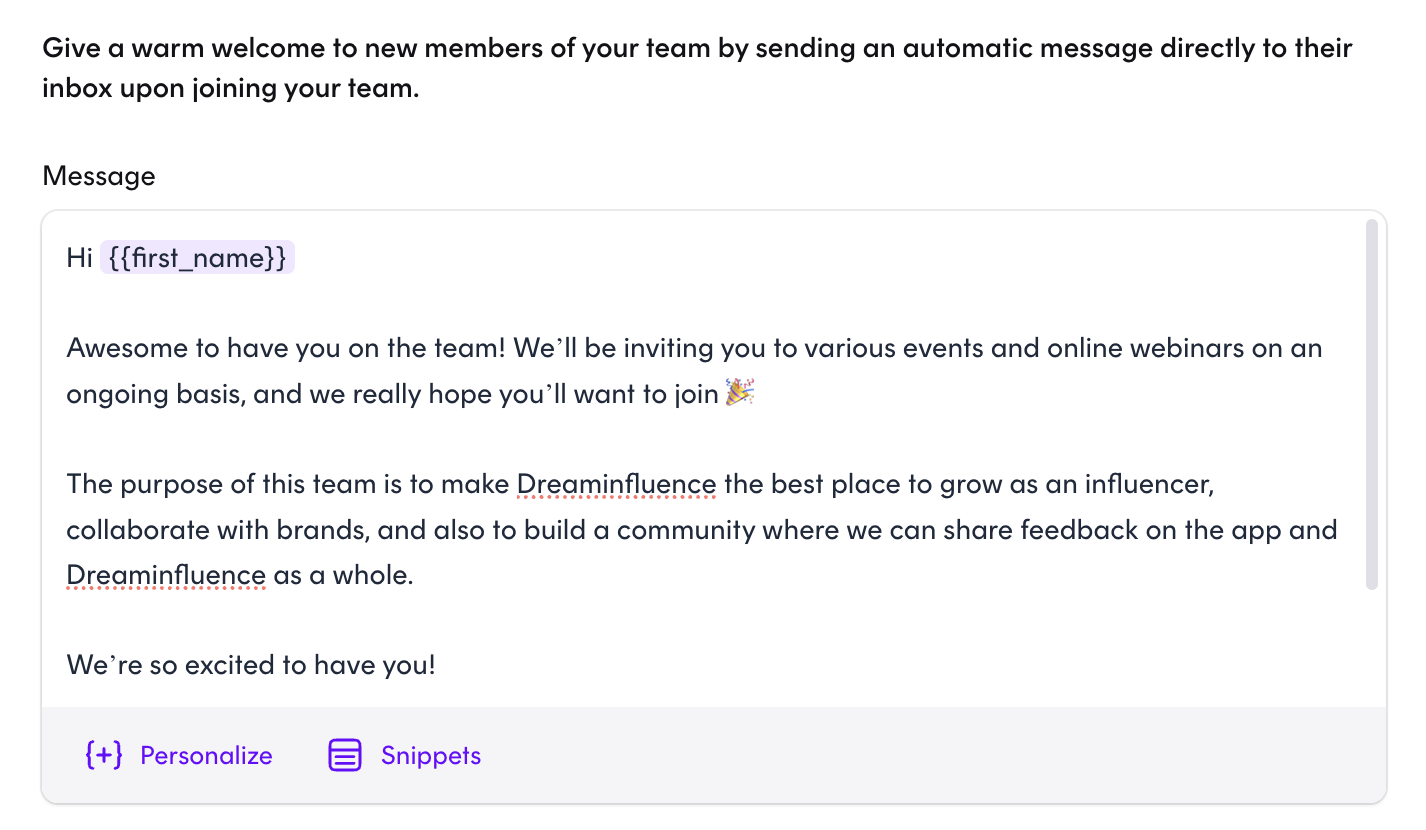
Things that can be considered to include in this message:
- "Office hours": When can influencers expect to hear from you, in case they have questions?
- If you are a multi-brand: Does the influencer need to get back to you and tell you about which brand they prefer to work with?
- Tiers: How do you work with your team? Will the influencers start off with product-based collaborations and then work their way to gain payment-based collaborations? If so - tell them how to get there!
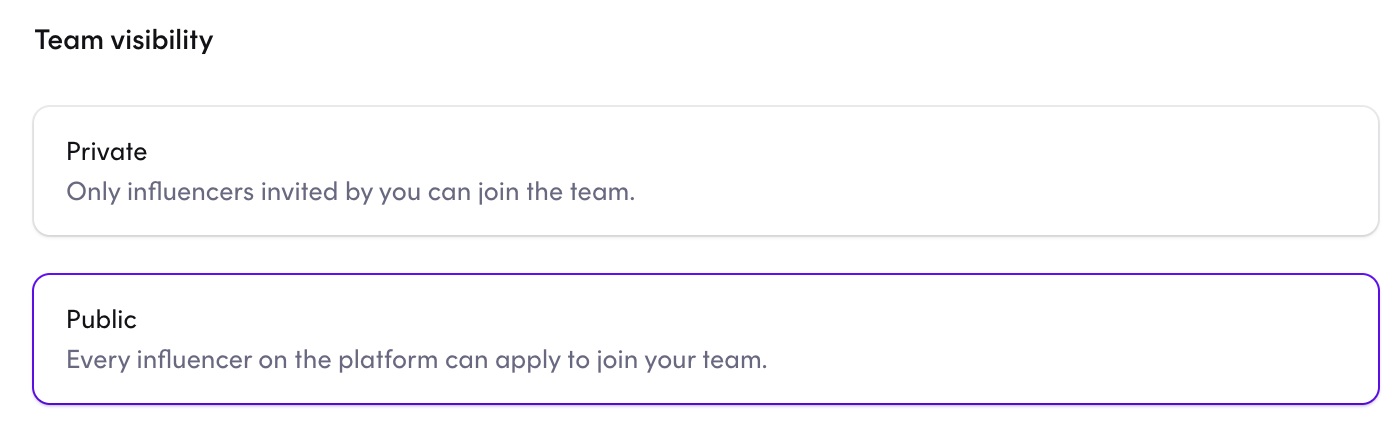
13. Team visibility
Now you are ready to go live. Set your team public so you can receive applications to your team.
If the team is private, it is not possible for other than your members, to see or apply to your team.